
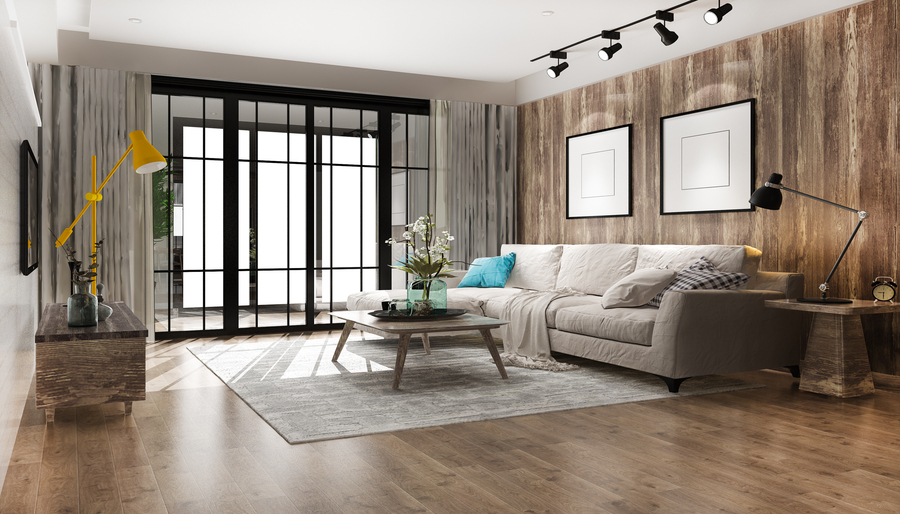
Wood plank accent walls are a huge trend right now in rustic and farmhouse styles. If you want to create this look for your own home, follow this guide to learn how to install laminate flooring on walls! You get the same gorgeous wood looks, with a budget-friendly price tag.
The great news is, it’s very easy to install flooring on walls. As long as you have the right tools and the know-how, you can create a chic accent wall in no-time.
Tools and Materials
This is a very DIY-friendly project, but it’s good to be well-prepared. To ensure your project is a success, you need to start with the right tools and materials.
Here’s what you will need.
Tools:
Caulk gun
Utility knife
Laser level
Nail gun
Tape measure
Table saw or circular saw
Tapping block
Pull bar
Hammer
Materials:
Adhesive caulk
Brad nails
Laminate flooring planks
Preparation
Before you dive into your project, you need to make sure your installation area is suitable and prepped. First, ensure you’re working with a clean, vertical surface. You shouldn’t install laminate on slanted walls or ceilings, and the installation area should always be indoors. You shouldn’t install laminate on a wall that has previously experienced moisture damage, or in areas where you can expect a lot of water, such as over a bathtub or as a backsplash. Additionally, there’s a limit to how large the accent wall should ideally be. We recommend a maximum area of 40’ long and 10’ high.
Follow these tips to ensure you’re completely ready before you begin.
Allow the laminate flooring to acclimate to the room for at least two days.
Remove any baseboards or trim. You can add this again once you’re finished.
Remove any wallpaper or paneling. The ideal wall surface should only be primed or painted.
Find the wall studs and mark their location.
If you’re working around outlets or switches, it’s a good idea to turn off the power to that area.
Ensure that the floor is level, since this will impact the look of the wall, and you want the planks to be level. If you notice a tilt in the floor, you can cut along the length of the first row of planks at an angle to compensate for this.
How To Install Laminate Flooring on Walls
1. Measure Your First Row
Before you fasten anything to the wall, lay out and connect the planks you will need for the first row. Cut the final plank to fit, ensuring it’s at least 6” long. Make sure to account for a 3/16″ expansion gap between the planks and any adjacent walls. If the leftover piece of the plank is also at least 6” long, use it to start the next row.
2. Apply the Planks
Use adhesive caulk on the back of each laminate plank, and carefully press them against the bottom of the wall, with the tongue side facing down. Having the tongue side face down makes it easier to tap the planks together, and easier to fasten the planks with nails.
3. Nail Planks to the Wall
You might think this is overkill at first, but you need to provide stability for the adhesive to set. At each wall stud, use a nail gun to drive brad nails into the groove of each plank. Make sure the nails don’t stick out into the groove, because this will disrupt the installation. Now would be a good time to double-check your first row with the laser level, and make any adjustments if needed.
4. Start the Next Row
After the first row, you don’t need to connect all the planks in a row before installing. Instead, you need to square off the short edges of each plank by cutting away the tongue with a utility knife.
5. Connect the Second Row with the First
Gently join the first and second rows by angling the tongue and groove edges together. Use a hammer and tapping block if needed. Ensure there are no gaps between the planks in each row. Use a tapping block or pull bar for this. Then nail them to the wall like you did the first row.