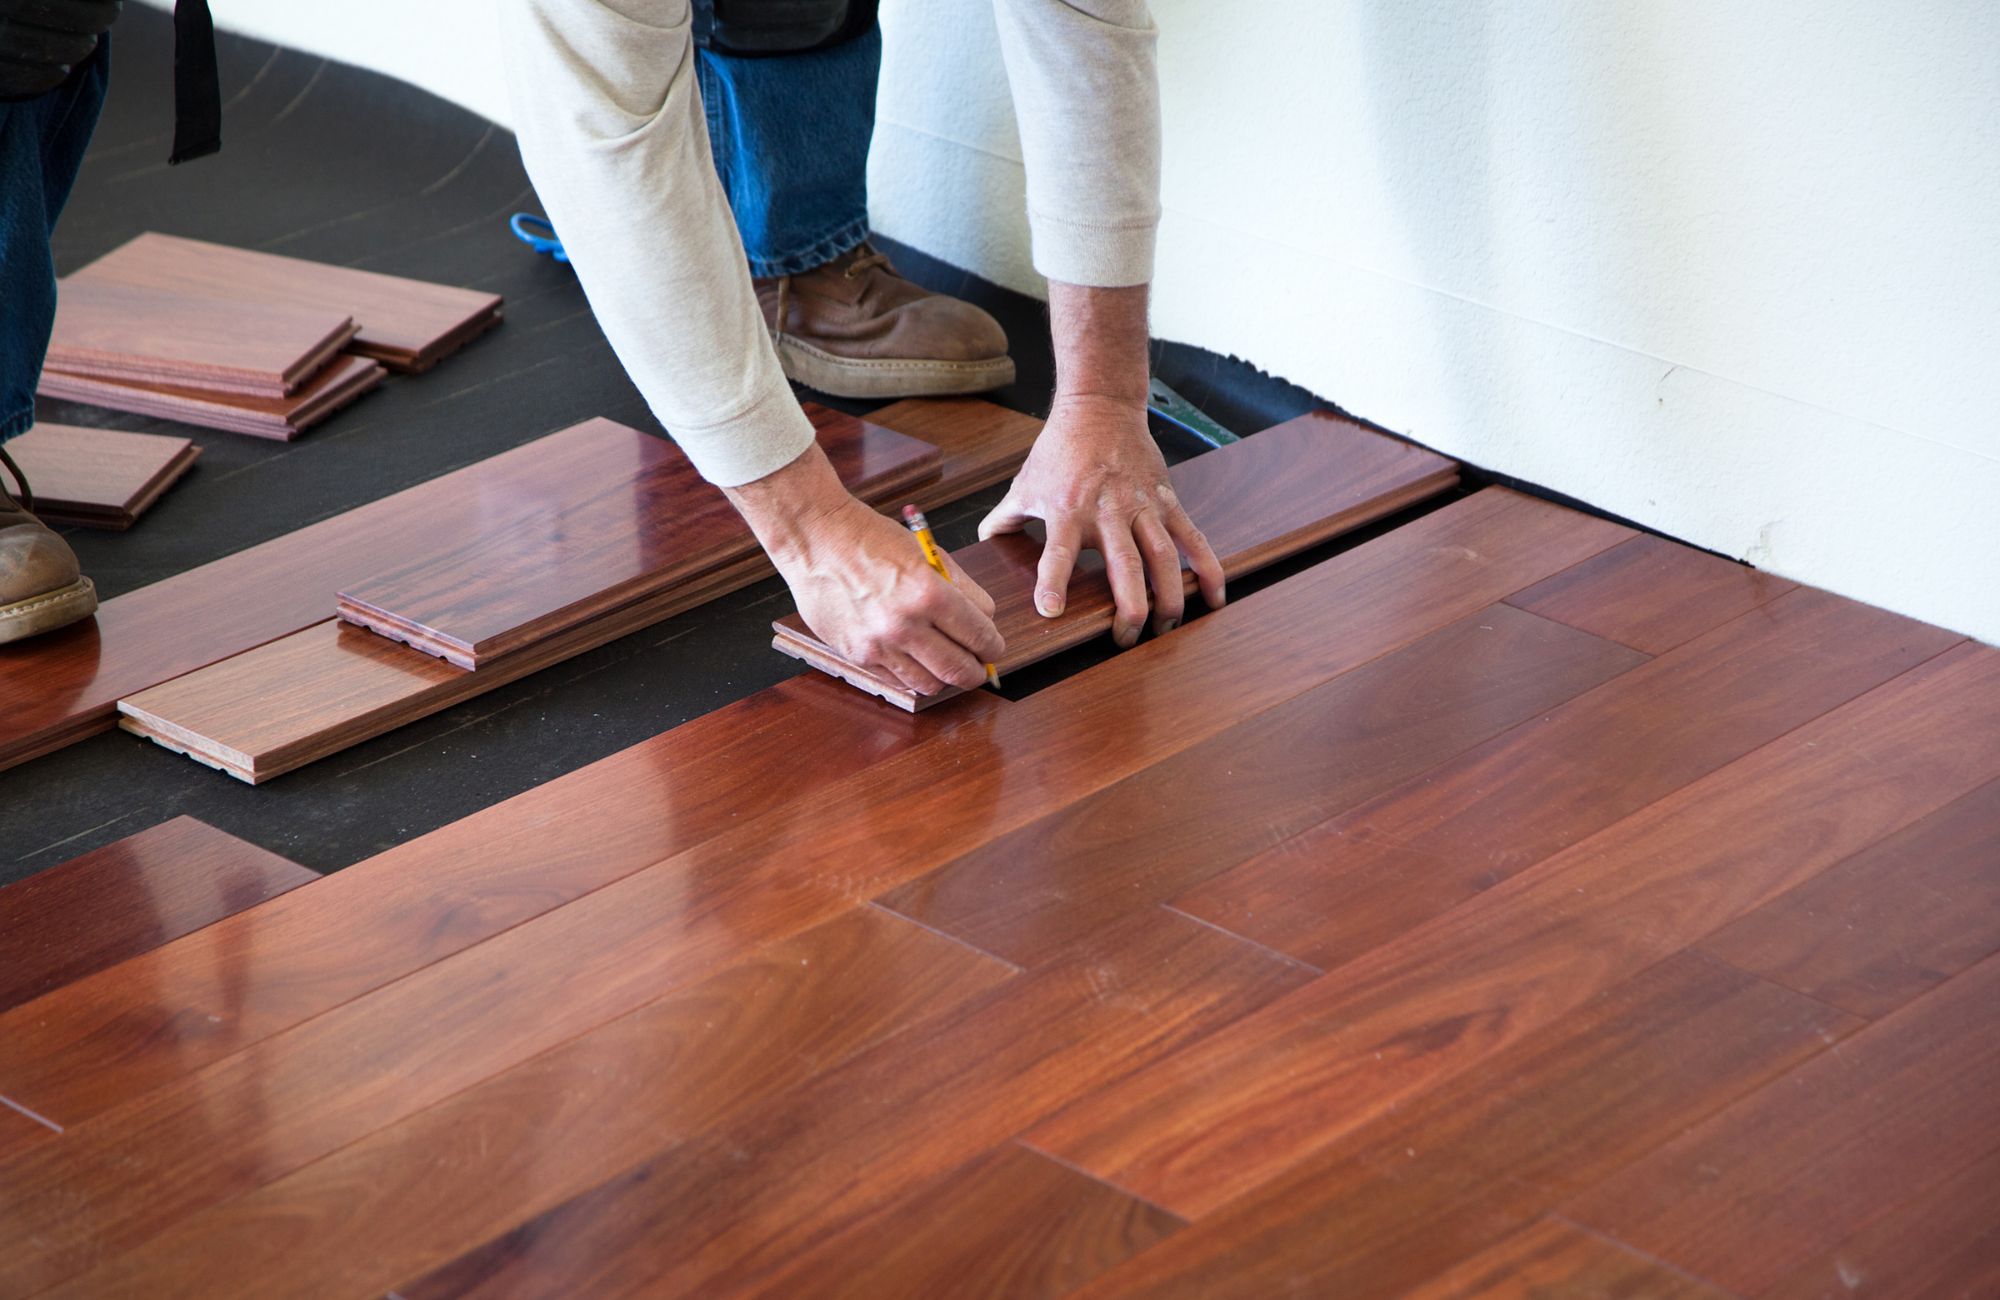
How do you correctly install engineered hardwood floors? Now that you have your flooring, you want to turn heads right away. To do so, you must first learn what installation method works best for you and your home.
By learning more about engineered wood flooring, and its four methods of installation, you can install your new floor in no time at all. Whether you’re starting a DIY project or wanting to know more about the process, this guide will help you along the way.
What is Engineered Hardwood Flooring?
Engineered hardwood is the newest alternative to solid wood flooring. Composed of man-made materials, each engineered wood plank is topped with a thin layer of real wood veneer. Complete with life-proof features such as water-resistance, each plank either has a high-density fiberboard (HDF) backing, a plywood backing, or a stone-plastic composite (SPC) core and, in some cases, an attached underlayment.
Advantages of Engineered Hardwood
More affordable than solid wood: You get the high-quality visuals of real wood without that big price tag, and nobody will be able to tell the difference.
Every plank is unique: Since this is a real wood veneer, you’ll never find a repeating pattern or an unconvincing texture.
Moisture resistance: Depending on the core of your flooring, your engineered wood could be moisture resistant or even 100% waterproof.
Install it anywhere: High moisture resistance means you can install it in bathrooms, kitchens, laundry rooms, and even basements! No grade level of your home is off-limits.
Engineered Wood Installation Preparation
To make sure your flooring installation is done correctly, you should first prep the engineered wood planks and the subfloor. These steps will ensure your new floors will look great and stay put for years to come.
Plank Prep
Once your flooring arrives you should NOT install it right away. Before installation, the planks should acclimate to the room’s climate.
Engineered wood can expand or contract in humid temperatures causing the floor to buckle if not properly acclimated. Allow the planks to sit for 24 hours to adjust to the room’s temperature before installation.
Subfloor
While your floor is acclimating to the room’s temperature, start preparing the subfloor for new flooring. Remove baseboards, old nails or staples, and loose dirt.
Underlayment
You should always install engineered wood over an underlayment. Moisture barriers and underlayment prevent moisture build-up under your floors, keep your floors warm, reduce noise, and even out subfloor imperfections. This extra support under your floors will lengthen the lifespan of your engineered wood planks.

