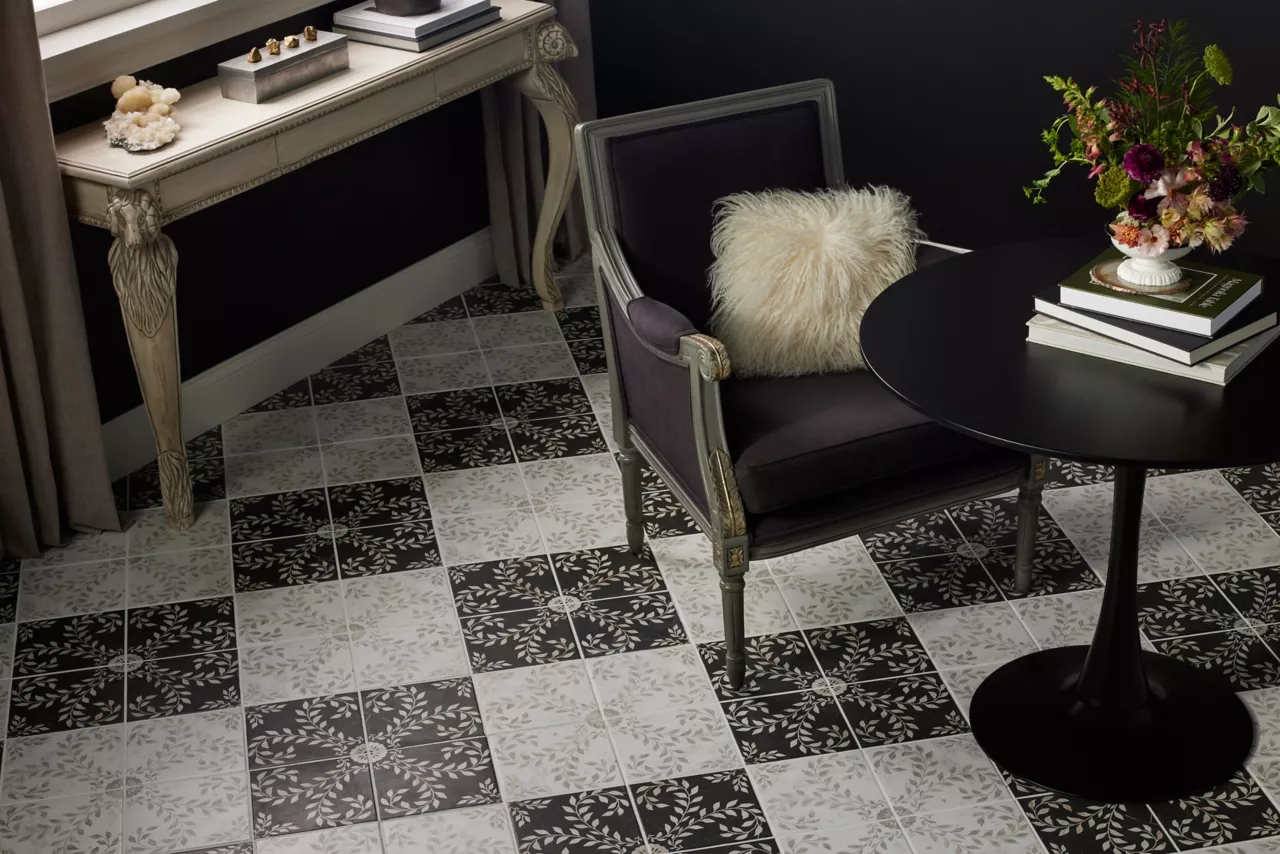
While some people would consider a DIY tile project too much of a challenge, it’s not impossible! With the right tools and enough preparation, you can learn how to tile a floor the right way.
And guess what? I’m here to help you with that! To assist in your installation, here’s a step by step guide that will walk you through the challenges and pitfalls of laying floor tile on your own.
No matter if you’re looking to tile a bathroom floor, a shower floor, or even a kitchen, this guide has everything you need to make your project a success.
What You Will Need to Lay Floor Tile
Tools
Tile cutter, Rubber mallet, Carpenter square, Level, Pencil, Notched trowel, Rubber grout float, Tile spacers, Tape measure, Power drill, Sponge, Tile nipper
Materials
Five gallon mixing bucket, Grout haze remover, Tile, Mortar, Grout, Sealer, Painter’s tape, Safety glasses, Knee pads, Rubber gloves
Step One: Preparing Your Subfloor
Determine what subfloor you have
Subfloor prep will depend on whether you have a concrete subfloor or a plywood subfloor. Concrete subfloors are a bit easier to prepare for a tile installation than plywood, but it’s important to be thorough no matter what subfloor you have.
Even if you’re installing tile yourself, you need to consult a contractor to make sure your subfloor can hold the weight of the mortar, tile, and furniture in the room once the project is complete.
How to prepare a concrete subfloor
Your concrete subfloor should be clean, dry, and level. If the concrete is new, it needs to cure for three to four months before installation can begin. You also need to fix any leaks or moisture problems before you start your project.
Start by testing to see if the concrete is water-penetrable, which will tell you if you can achieve a good bond. Sprinkle water over the subfloor and make note if it soaks in or beads on the surface.
If water soaks into the surface, you can get a good bond with the tile. However, if water beads up, there are surface contaminants that you need to remove before installation can be successful.
Make sure no water is seeping into the subfloor from below. Check for any dips in the surface by sliding a long straight edge around the room. Fill any low spots with a self-leveling underlayment and allow it to dry before moving forward. Once the surface is level, clean and rinse the subfloor with water to ensure there are no residues left behind.
How to prepare a plywood subfloor
Measure the space and cut cement backer board to fit. Adhere the backer board to the plywood with thinset adhesive, leaving a 1/8” gap between the sheets, and a 1/4” gap around the edges of the room. Make sure the seams of the backer board don’t align with the seams of the wood subfloor.
Next, fasten the backer board to the floor with screws spaced six to eight inches apart. Set the screw heads beneath the surface of the board to ensure that it’s completely level.
Use glass fiber tape specifically made for backer board to reinforce the joints. If the tape is non-adhesive, fill the gaps between the boards with mortar before applying the tape. Finally, cover the tape with a thin layer of mortar and allow it to dry completely before proceeding.
Step Two: Measuring the Room
The starting point for your project will depend on what works best for you. Some people may choose to start tiling in the center of the room, while others might prefer the corner. Before you begin, make sure that your starting point is square by using a carpenter’s square. If you find that the walls of the room are not square, account for that difference as you snap your chalk lines. Always remember the width of your trim when measuring the room.
Step Three: Test Your Tile Layout
Unbox and mix up your tile
Minor color variations between manufactured batches can be more noticeable if you install tile box by box.
Do a dry lay of your tile
Before mixing any mortar, lay out two half rows of tile, starting from the starting point and moving toward the walls in perpendicular directions. Use spacers between each tile.
Avoid tile fragments along walls
If the end of either test row doesn’t give you enough space to fit at least a third of a tile, adjust your chalk lines and starting point. To keep the appearance of the room balanced, you’ll want to make sure there is at least a third of a tile at each end of the room.

